Hybrid Gaming Chair Setup: Optimal Video Call Posture
By Aisha Karim • 24th Apr
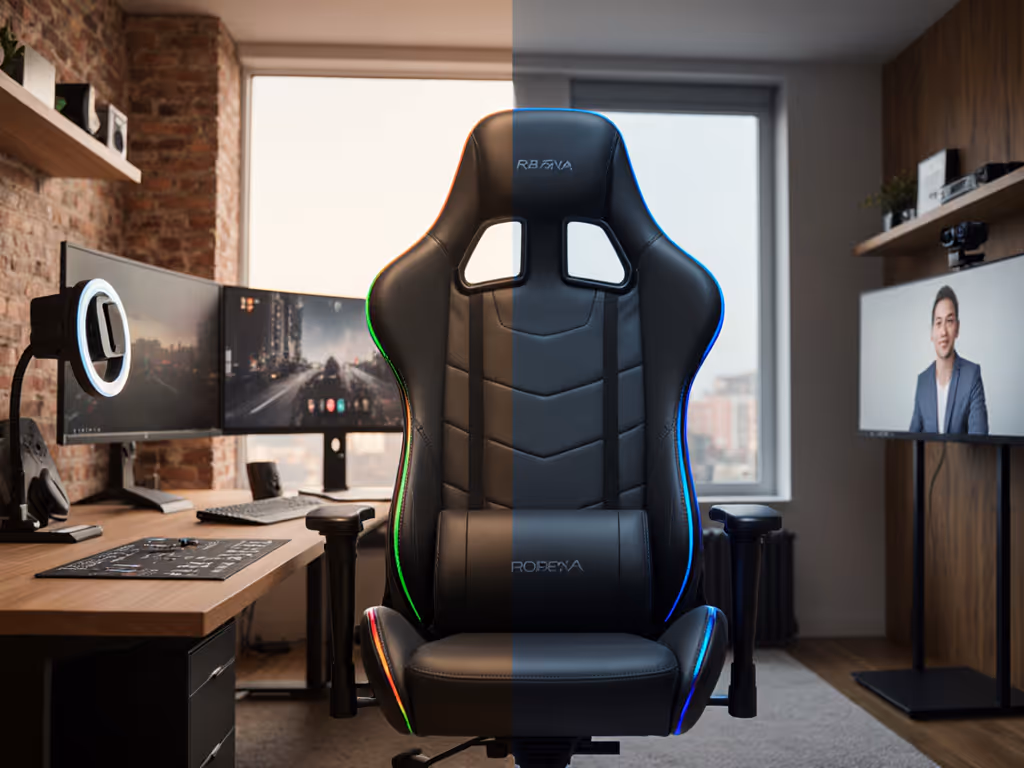
The hybrid gaming work chair setup has become essential for the modern player-turned-professional. Whether you stream, compete, or work remotely between ranked sessions, your chair must serve two fundamentally different postures: the forward-leaning focus of competitive gaming and the upright, camera-conscious positioning of professional video calls. This guide translates anthropometric measurement and ergonomic testing into actionable steps to select and configure a chair that actually supports both modes without compromise.
Why Standard Gaming Chairs Fall Short for Hybrid Use
Most gaming chairs are engineered for recline and support during extended solo gameplay. They prioritize high backrests, aggressive lumbar curves, and bucket-seat geometry optimized for prolonged sessions in one position. If you need a single chair that looks professional yet still games hard, see our office vs gaming chairs guide. Yet when you activate your camera for a standup or client call, this same chair often forces you into compromises: the seat depth crowds your thighs against the chair edge; the armrests sit too low or too wide for desk alignment; the backrest angle looks casual rather than composed. The inverse problem occurs with office ergonomic chairs (they encourage upright posture and professional aesthetics) but often lack the seat depth, adjustability, and support needed for multi-hour gaming marathons.
The core issue is seat geometry. Bucket seats with aggressive side bolsters and deep pockets work brilliantly for gaming in isolation but interfere with clean camera framing and natural desk posture during calls. Conversely, flatter, more open seats reduce pressure hotspots during work transitions but may feel under-supported during intense focus sessions.
Measuring Your Body as the Starting Point
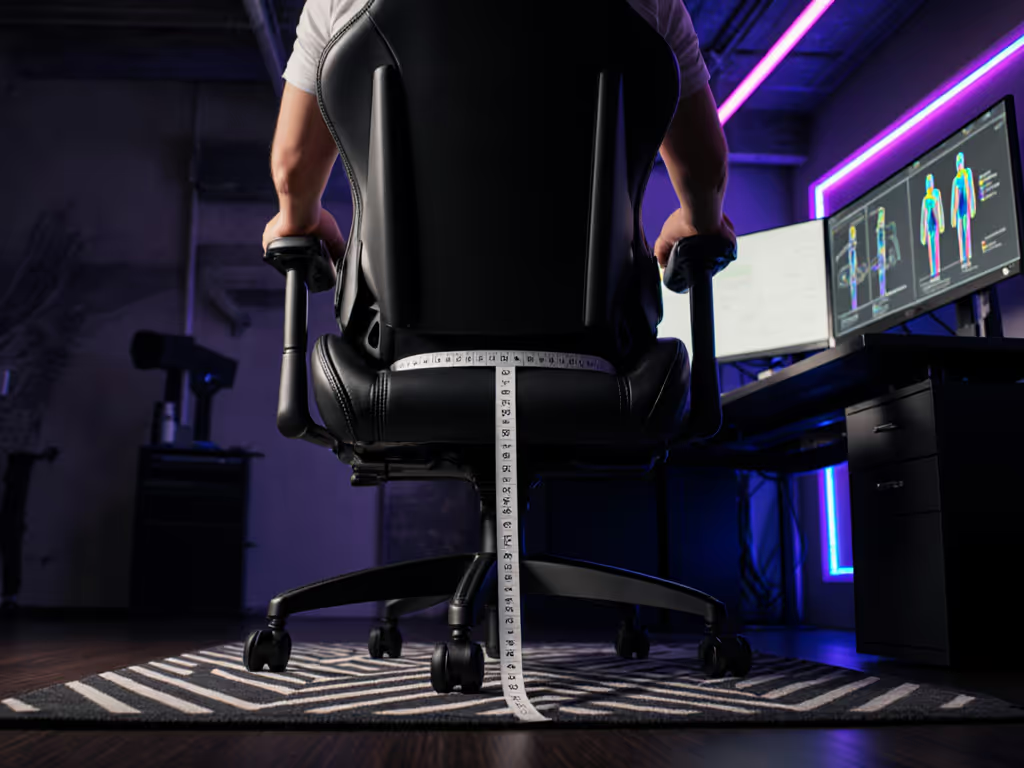
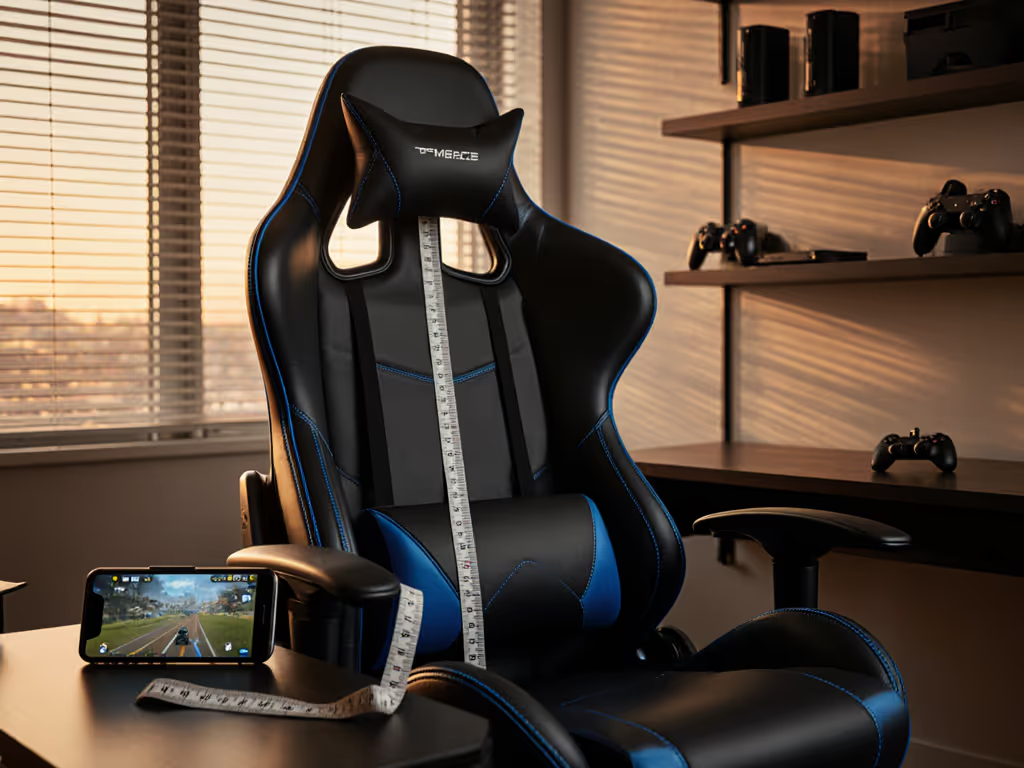
Pressure maps don't lie; your body writes the spec sheet. Before evaluating any chair, measure these anthropometric variables under standardized conditions (seated, feet flat on floor, wearing typical clothing):
- Seated hip width (widest point across thighs)
- Popliteal depth (buttock to back of knee)
- Popliteal height (floor to underside of thigh when seated)
- Shoulder width (acromion to acromion)
- Your actual body weight and any dynamic load factors (if you recline frequently, add margin)
Document these in both centimeters and inches. The reason is precision: a chair spec sheet listing "seat depth 20 inches" may work for you or crush circulation behind your knees depending on your popliteal depth. Use our seat depth measurement guide to calculate your exact target. For hybrid users, measure yourself in both typical gaming posture (relaxed, reclined slightly) and professional posture (upright, feet flat, back against lumbar). The measurements should be identical, but your perceived comfort will differ based on seat contour.
The Geometry Paradox: Seat Depth and Pressure Distribution
During my first week pressure-mapping gaming chairs, I observed a phenomenon that later defined my testing framework. A highly rated bucket seat with deep contouring created two angry red hotspots behind the thighs at hour three of a standard gaming session. The seat depth was nominally correct for the user's popliteal depth, but the aggressive pan shape concentrated pressure rather than distributing it. After swapping to a flatter pan geometry and dialing seat depth back 1.5 inches, those hotspots disappeared entirely. Same gamer, same session duration, same desk height, but now the chair redistributed load across a wider contact surface, and skin temperature stayed cooler.
This insight became a core feature of hybrid-use evaluation: seat geometry must balance contour (lumbar support during recline) with flatness (pressure distribution during upright work). For hybrid users, seek chairs offering:
- Seat depth 1.5-2 inches shorter than your popliteal depth (e.g., if your popliteal depth is 19 inches, target 17.5-18 inch seat depth)
- Gently contoured rather than bucket-shaped pan, allowing thighs to rest without edge pressure
- Adjustable lumbar support so you can dial firm support for gaming and reduce prominence for video calls
Armrest Positioning for Dual Workflows
Armrest mismatch is the second-order problem that derails hybrid setups. Gaming sessions often involve controller use, mouse-and-keyboard switching, or forward-leaning aim focus, requiring armrests set low and wide for relaxed shoulders. Video calls demand armrests positioned to align elbows at 90 degrees with the desk surface, creating a professional silhouette on camera. Additionally, inter-armrest distance should be hip width plus 2-3 inches of total clearance; too narrow, and you'll feel squeezed during transitions between postures.
The solution is 4D or 5D adjustable armrests: height, width, angle, and depth adjustability allow you to optimize positioning for each mode without purchasing a second chair. For a breakdown of adjustment types, see our 4D vs 3D armrest comparison. If evaluating fixed armrests, prioritize the middle-ground position that feels acceptable for both gaming and calls, understanding you will be suboptimal in one mode.
Seat Height and Under-Desk Clearance
Hybrid users must account for two desk heights or a single adjustable surface accommodating both upright work and relaxed gaming. The fundamental rule remains consistent:
Seat height should allow your feet to rest flat on the floor with knees at roughly 90-100 degrees. For gaming, slight recline allows angles to exceed 100 degrees; for calls, maintain closer to 90. Most PC gamers require minimum seat heights in the 18-19 inch range, with maximum heights up to 21-22 inches for very tall users.
Critically, measure your under-desk clearance (distance from floor to underside of desk). Many hybrid workers discover their desk cannot accommodate a substantial gaming chair without leg crowding. Standard gaming chair footprints range 27-30 inches deep, plus extra space for recline. Comfortable knee clearance typically requires 23-25 inches of vertical space under the desk. If your desk offers only 24 inches or limited height adjustment, plan for a keyboard tray or desk adjustment before chair purchase.
Load Redistribution and Thermal Management
Your chair should redistribute load and heat so your focus outlasts the session, whether that session is a ranked competitive block or a full workday with back-to-back video calls. Pressure concentration creates hotspots; hotspots create pain, numbness, and distraction. Thermal buildup (common with dense foam or PU leather) accelerates fatigue and breaks immersion.
When evaluating materials, prioritize:
- Breathable mesh or hybrid fabrics over solid PU leather, especially for sessions exceeding 3 hours
- High-density foam rated for 150+ kg (330+ lb) loads that resists flattening over years
- Perforated surfaces in high-contact zones (seat pan, backrest)
- Documented durability testing: ask manufacturers for foam compression curves and multi-year warranty coverage
Do not assume marketing terms like "premium PU" or "breathable leather" translate to measurable thermal performance. Request objective data: temperature curves over a 4-hour session, or comparisons using standard pressure mapping tests and thermal-imaging protocols.
Configuration for Professional Presence
On camera, your chair's visual prominence and acoustic signature matter. Professional gaming posture requires upright spinal alignment, shoulders level, elbows at 90 degrees, and no excessive backrest angle tilting you backward. The chair should not dominate the camera frame; neutral or dark colorways, minimal graphics, and clean lines read as composed rather than juvenile.
Acoustic management is underrated: squeaks, creaks, or caster noise during repositioning are detected by microphones instantly. For quieter movement and floor protection, use our caster selection guide. Test for:
- Tight bolts and welds (no rattle)
- Smooth, quiet casters suitable for your floor type
- Smooth tilt and recline mechanisms with no binding or noise
Practical Setup Workflow: From Unboxing to Optimization
Step 1: Measure and Document Before assembly, record your anthropometric data and desk dimensions. This creates a baseline against which to evaluate fit.
Step 2: Assemble with Attention to Tolerances Tighten all bolts fully. Many comfort complaints stem from loose assemblies that degrade over weeks. Use provided tools; do not strip threads.
Step 3: Set Seat Height First Raise or lower the pneumatic cylinder so your feet rest flat on the floor and knees sit at 90 degrees. This is non-negotiable and takes 5 minutes but is often skipped.
Step 4: Adjust Lumbar Support For gaming sessions: firm support at your natural lumbar curve. For calls: dial back to neutral or mild support to flatten your silhouette.
Step 5: Position Armrests Height: elbows at 90 degrees with arms resting lightly. Width: narrow enough that shoulders feel relaxed, wide enough that thighs clear without squeeze. Angle: 0 degrees (parallel to desk) for calls, slight outward angle for gaming relaxation if available.
Step 6: Calibrate Tilt Tension and Lock Tilt tension should feel neither stiff nor loose; you should be able to recline with intention but not slide uncontrollably. For calls, lock the tilt mechanism to prevent any movement. For gaming, unlock and set tension mid-range.
Step 7: Monitor for Hotspots During First 3-Hour Session Pay attention to any pressure concentration behind the thighs, lower back, or shoulders. Minor discomfort often resolves after breaking in foam (24-72 hours). Acute hotspots or numbness suggest geometry mismatch.
Data-Driven Iteration and Further Exploration
Your initial setup is a hypothesis, not a solution. Track comfort objectively over the first two weeks: note session duration, pressure hotspots (if any), thermal comfort, and postural ease. Micro-adjustments (seat depth spacers, armrest angle, lumbar firmness) can resolve most issues without chair replacement.
If hotspots persist, investigate adjustable seat depth or consider a different base model. If thermal buildup occurs despite mesh materials, you may need a hybrid fabric with higher airflow or a cooling pad. If upright posture feels unsupported during calls, a firmer lumbar or backrest adjustment may help.
The goal is reproducible, measurable comfort across both gaming and professional modes. Spend time understanding your chair's full range of adjustability. Read the manual completely. Join communities sharing long-session testing protocols and real-world feedback from users matching your anthropometrics and use case. Your chair is a variable-controlled system; treat it as such, and the data will reveal the optimal configuration.
Related Articles